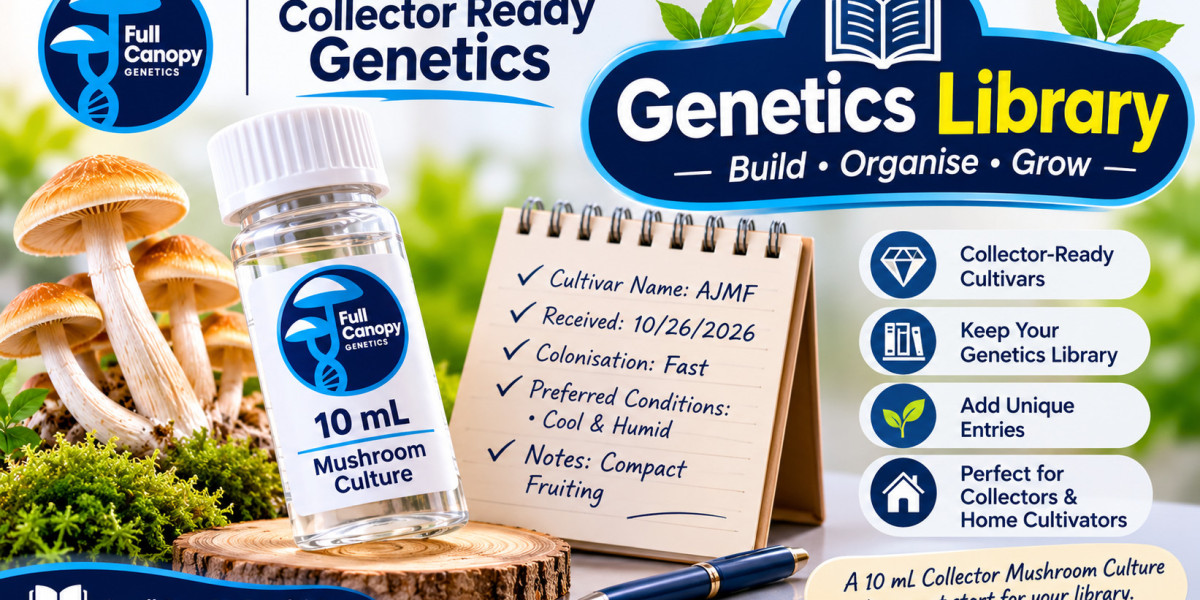

Two growers can start with the same 10 mL mushroom culture and end up with very different results. The difference is almost always handling. How a culture is stored, how it is prepared and how it is introduced to a substrate all shape the outcome. Good genetics are only the starting point; good technique carries them the rest of the way. This guide focuses on that technique.
It explains how to store a 10 mL mushroom culture, how to prepare it for use, how to inoculate cleanly and how to read what happens next. It also covers troubleshooting, so you can respond calmly when something does not go to plan.The aim is clean, compact fruiting, tidy growth, steady development and a growth that feels under control. Achieving that starts long before the mushrooms appear. It starts the moment your culture arrives.
What to Do When Your Culture Arrives
When your package arrives, open it promptly and inspect the contents. Check that the vial is sealed and undamaged. Look at the liquid. It should appear clear to slightly amber, with pale mycelium visible as strands or small clouds. Next, decide when you will use the culture. If you plan to inoculate within a day or two, you can leave it somewhere cool and dark. If you plan to wait longer, move it to the fridge. Cooler temperatures slow the mycelium and extend its usable life.Write the date of arrival and the cultivar name on a label, if the vial does not already have one. This small habit pays off later, especially if you hold several cultures. A clear label prevents mixups and helps you plan which culture to use first.
The Facts Storage and Handling at a Glance
Here is a quick reference table covering the main points of storage and handling.
Topic | Recommended Practice |
Storage location | Cool, dark place; fridge is common |
Before use | Let it reach room temperature slowly |
Mixing | Gentle swirl, not hard shaking |
Typical amount | One to two millilitres per quart sized jar |
Substrate temperature | Fully cooled before inoculation |
Incubation range | Roughly 21 to 26 degrees Celsius |
Colonisation time | Often 10 to 21 days on grain |
Warning signs | Green, black or yellow patches; sour smell |
Use these as general guidance and adjust for your cultivar and conditions. Every home setup is a little different, so your own observations matter most.
Preparing Your Culture for Use
About an hour before you plan to inoculate, take the culture out of cold storage so it can come up to room temperature. Adding a cold liquid to warm grain can create condensation and a temperature shock, which is best avoided. Once it has warmed, give the vial a gentle swirl. You want the mycelium evenly spread through the liquid, not clumped at the bottom. Do not shake it hard, because bubbles and foam make accurate measuring harder. Inspect it one more time. Healthy cultures look consistent and fresh. If you notice an off smell, unusual colours or anything that does not look right, set the vial aside and contact the seller before proceeding. It is always better to ask than to risk a whole batch of jars.
Setting Up a Clean Workspace
Clean technique is the single most important factor in successful growth. Start by choosing a room or area with minimal air movement. Switch off fans and close windows and doors. Wipe all surfaces with a suitable disinfectant and let them dry. Wash your hands carefully and consider wearing clean clothing. Gather everything you need before you begin your jars, your culture, your labels and any cleaning supplies. The less you move around during the process, the less you stir up airborne particles.Work calmly and deliberately. Rushing leads to mistakes mistakes lead to contamination. A relaxed, organised approach consistently outperforms a hurried one. With a little practice, your routine will become second nature.
Inoculating Step by Step
Begin with a fully cooled substrate. Check that each jar or bag is sealed and has a suitable inoculation point. Clean the point before you introduce anything. Introduce a small measure of culture, usually one to two millilitres per quart sized jar, directly through the inoculation point. Avoid opening the jar if possible, as this reduces exposure to the air. Move smoothly from jar to jar, keeping your hands and tools clean.After inoculation, label each jar with the cultivar name and the date. Then place the jars in a stable, warm and dark spot. Resist the urge to check them constantly. Give the mycelium a few days to establish before you look closely. A steady environment is the best gift you can offer.
Matching the Right Cultivar to Your Skill Level
Handling is easier when the cultivar is forgiving. If you are newer to cultivation, choose a line known for steady behaviour. The beginner 10 mL clean fruiting culture with the beginner Golden Teacher 10 mL is a dependable option, thanks to its reputation for vigorous, predictable growth. If you want a different but still approachable option, the beginner Cascadian Teacher is another good choice. Both are well suited to learning, because they respond well to a tidy routine and tolerate small errors.As your skills grow, you can move on to more distinctive lines. Collectors often add cultivars such as Albino Jedi Mind F*ck or Albino Penis Envy Revert once they feel comfortable. These can be more particular, so it helps to have a few successful grows behind you before taking them on.
Incubation Giving the Mycelium Time
After inoculation, the incubation stage begins. This is where the mycelium spreads through the substrate. Aim for a stable temperature, roughly in the range of 21 to 26 degrees Celsius for most cultivars. Avoid large swings, which can slow growth or encourage unwanted organisms. During this period, check your jars every few days without moving them excessively. Look for white mycelium spreading from the inoculation points.
Early growth often appears as fine threads, which then thicken into dense, cottony patches.Colonisation commonly takes ten to twentyone days on grain, though this varies with temperature, cultivar and technique. Be patient. Mycelium works on its own schedule trying to hurry it rarely helps. Once the substrate is fully colonised, you can move on to the next stage of your plan.
Toward Clean, Compact Fruiting
Clean, compact fruiting is the result of good conditions at every earlier step. When the substrate is fully colonised, it can be moved into a fruiting environment that provides humidity, fresh air and gentle light. A simple, wellmanaged setup is usually enough.Humidity should be high but not soggy. Fresh air exchange keeps conditions healthy and supports tidy growth. Consistent light signals the mycelium to begin fruiting.
Avoid dramatic changes, since stability supports even, compact development.Different cultivars develop in different ways. Some grow in a dense, tight pattern, while others spread out. Observe how your chosen cultivar behaves and take notes. Those observations will help you finetune your setup in future grows. Remember, appearance is not a guarantee of yield; we don't make claims beyond visual traits.
Troubleshooting Common Problems
Even with great technique, problems sometimes appear. The most common is contamination, which shows as green, black or bright yellow patches, or as a sour smell. If you see it, remove the affected jar from your growing area at once and dispose of it carefully. Do not open it indoors, as this can spread the problem. Another common issue is slow colonisation. This is usually caused by low temperatures, too little culture or an unsuitable substrate.
Check your temperature first, since it is the easiest factor to correct. If growth remains slow, review your preparation steps and try again.A third issue is stalled growth after an initial start. This can happen if the substrate was too wet or too dry, or if conditions changed suddenly. Keep conditions stable and avoid disturbing the jars. If a problem persists across several jars, reconsider your routine rather than blaming the culture.
Isolating Cultures and Advanced Techniques
Once you are comfortable with the basics, you may become curious about more advanced work. One example is isolating cultures, which means working with mycelium on a clean surface such as agar to select the healthiest, most vigorous growth. Cultivators who enjoy this approach use it to refine their results over time. Isolating cultures calls for patience and very clean technique, so it is best attempted after you have mastered basic grain work. It is also helpful to hold a range of genetics to work with. A 10 mL mushroom culture selection gives you plenty of starting points for this kind of exploration.Do not feel pressured to move on quickly. Many cultivators enjoy years of satisfying growth using only the basics. Advanced techniques are an option, not an obligation.
Making the Most of Every Vial
A 10 mL culture offers good value when it is used thoughtfully. Plan your projects around the age of the culture, use older vials first and keep careful notes. This reduces waste and builds your experience. Keep your supplies in order, too. Having what you need on hand makes it easier to act while your culture is fresh. A single source for cultures and supplies, such as the mushroom culture for collectors homepage, simplifies planning and keeps everything in one place.Finally, treat each grow as a chance to learn. Record what you did, what you saw and what you would change. Over time, your notes will turn your routine into a reliable system and your results will show it.
Final Thoughts
A 10 mL mushroom culture is a compact, practical way to start or expand a grow. With careful storage, clean preparation and steady incubation, it can lead to tidy, satisfying results. Most problems can be prevented with patience and attention the few that occur become useful lessons.
Start with a forgiving cultivar, build a calm routine and keep notes as you go. Whether you are a first time grower or a seasoned collector, the habits in this guide will help you get more from every vial. For a distinctive addition once you are ready, take a look at albino bluey vuitton for a more compact, collector style line, explore the 10 mL isolating cultures option with APER.
Frequently Asked Questions(FAQs)
How long can I store a 10 mL mushroom culture?
Cool, dark storage, often in the fridge, helps extend usable life. Fresher cultures generally perform better, so plan to use yours promptly.
Should I shake the culture before use?
Swirl it gently so the mycelium is evenly distributed. Avoid hard shaking, which creates foam.
What temperature is best for incubation?
Most cultivars do well at roughly 21 to 26 degrees Celsius, with stable conditions.
What should I do if I see contamination?
Remove the affected jar from your growing area immediately and dispose of it carefully without opening it indoors.
Does a good looking cultivar guarantee yield?
No, Appearance is not a guarantee of yield; we don't make claims beyond visual traits.